Celebrate No Mow May with a Wreath
As a gardener and someone who cares about looking after the environment, the month of May gets me very, very nervous and excited at the same time.
Whilst No Mow May is a brilliant challenge to get behind, it does make all my ears, feet and fingers twitch. I spend it watching my beautifully cared for garden become wild. In Laws give my garden the side eye when they visit. Guests begin to question if I’m doing okay whilst simultaneously involuntarily nodding towards the direction of my lawn. And the neighbours…well they actually can’t see my garden so they don’t express an opinion. I can tell you which ones would though.
What is No More May?
No More May is a movement created by Plantlife (you can read more about it here) and is branded as an easy way to help the environment. Quite simply you just don’t mow your lawn throughout May. It is, on paper, a very easy challenge.
The reasons the movement is a great one to get involved with are;
- Approximately 97% of flower-rich meadows have been lost since the 1930s, meaning a loss in vital food and habitat needed by wildlife.
- A healthy lawn with a mix of longer grass and wildflowers helps to tackle pollution, and benefits wildlife by not just providing food, but safe passages to move out of sight of predators.
- Even letting the grass grow in the smallest of gardens can make a huge difference.
Also, once you’ve completed No Mow May you can naturally follow Let it Bloom June. But more on that later.
Back to this Grass Wreath
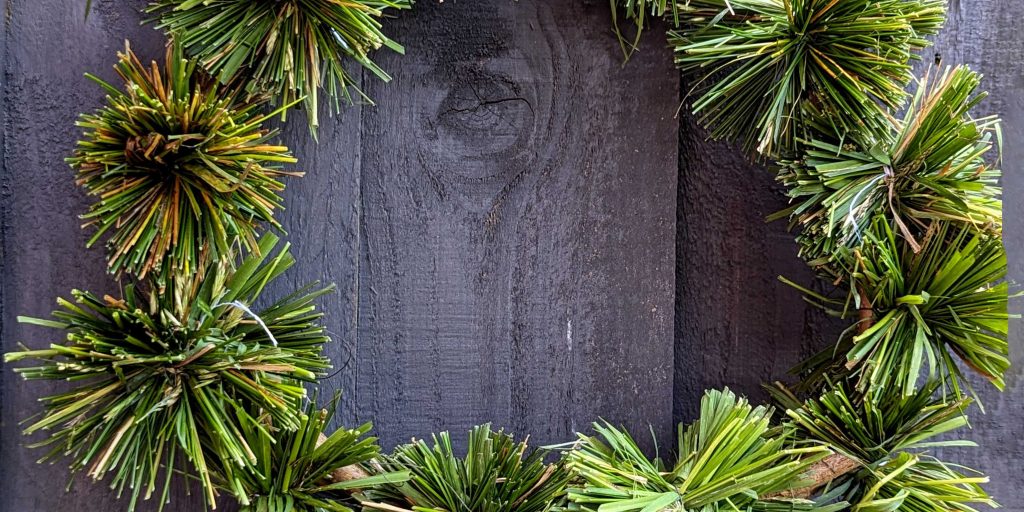
If you like your garden to look “perfect” it is a hard challenge to follow. Who knew that doing nothing would be so difficult? I don’t generally seek perfection, yet I needed something to distract myself from my itchy fingers, and so last year I decided to give #NoMowMay even more of a purpose…a crafty purpose. That long grass (a patch or two of it at least) I had eyed up for a lovely craft project…a Grass Pom Pom Wreath!
Once the month was done I had an excess of soft, durable grass begging to be cut back and used for creative purposes. There was so much long grass you could actually hardly tell I’d cut any back when the time came.
The craft was a sort of experiment, although I’d made pom poms before, and I’d made wreaths before. The only bit I wasn’t sure of was whether using grass as a material would work, but it did. My favourite part of the whole craft was two fold, 1) getting to sit outside whilst making it (bliss) and 2) watching the grass change colour into a lovely copper as it dried out on the wreath.
Lessons from #NoMowMay
I’ve been following #NoMowMay in my garden for a few years now, so as a verified expert I thought I’d share some of my experiences to help you before we move on to the How To part of this beautiful Wreath.
Lesson One
You will embrace the long grass. It’s really pretty, and I was amazed by the variety of grasses that grew in my small patch. I have embraced the movement so much there are now two patches of my garden I keep long all year. It provides a great habitat for so many insects and animals.
Lesson Two
You will become creative with it. One year I mowed a maze into the small patch, another year I tried growing the edge of a stage for my performance loving child. I have loved mixing it up and finding fun ways to play with the long grass that’s growing.
Lesson Three
You will enjoy the new flowers that come with it. I can’t explain it, because I’m not of a science mind, but more flowers grow in my garden now. I’ve even got a patch of the most stunning purple clover that grows instead of long grass. We call it the ‘Bee Patch’ and we leave it untouched until the clover dies back. I will pop some string around it so the kids don’t accidentally stand on it (and the bees that LOVE it).
And there we go, lesson time over, let’s crack on with the craft at hand.
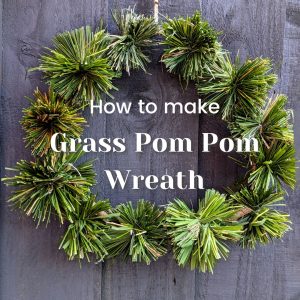
How to make a Grass Pom Pom Wreath