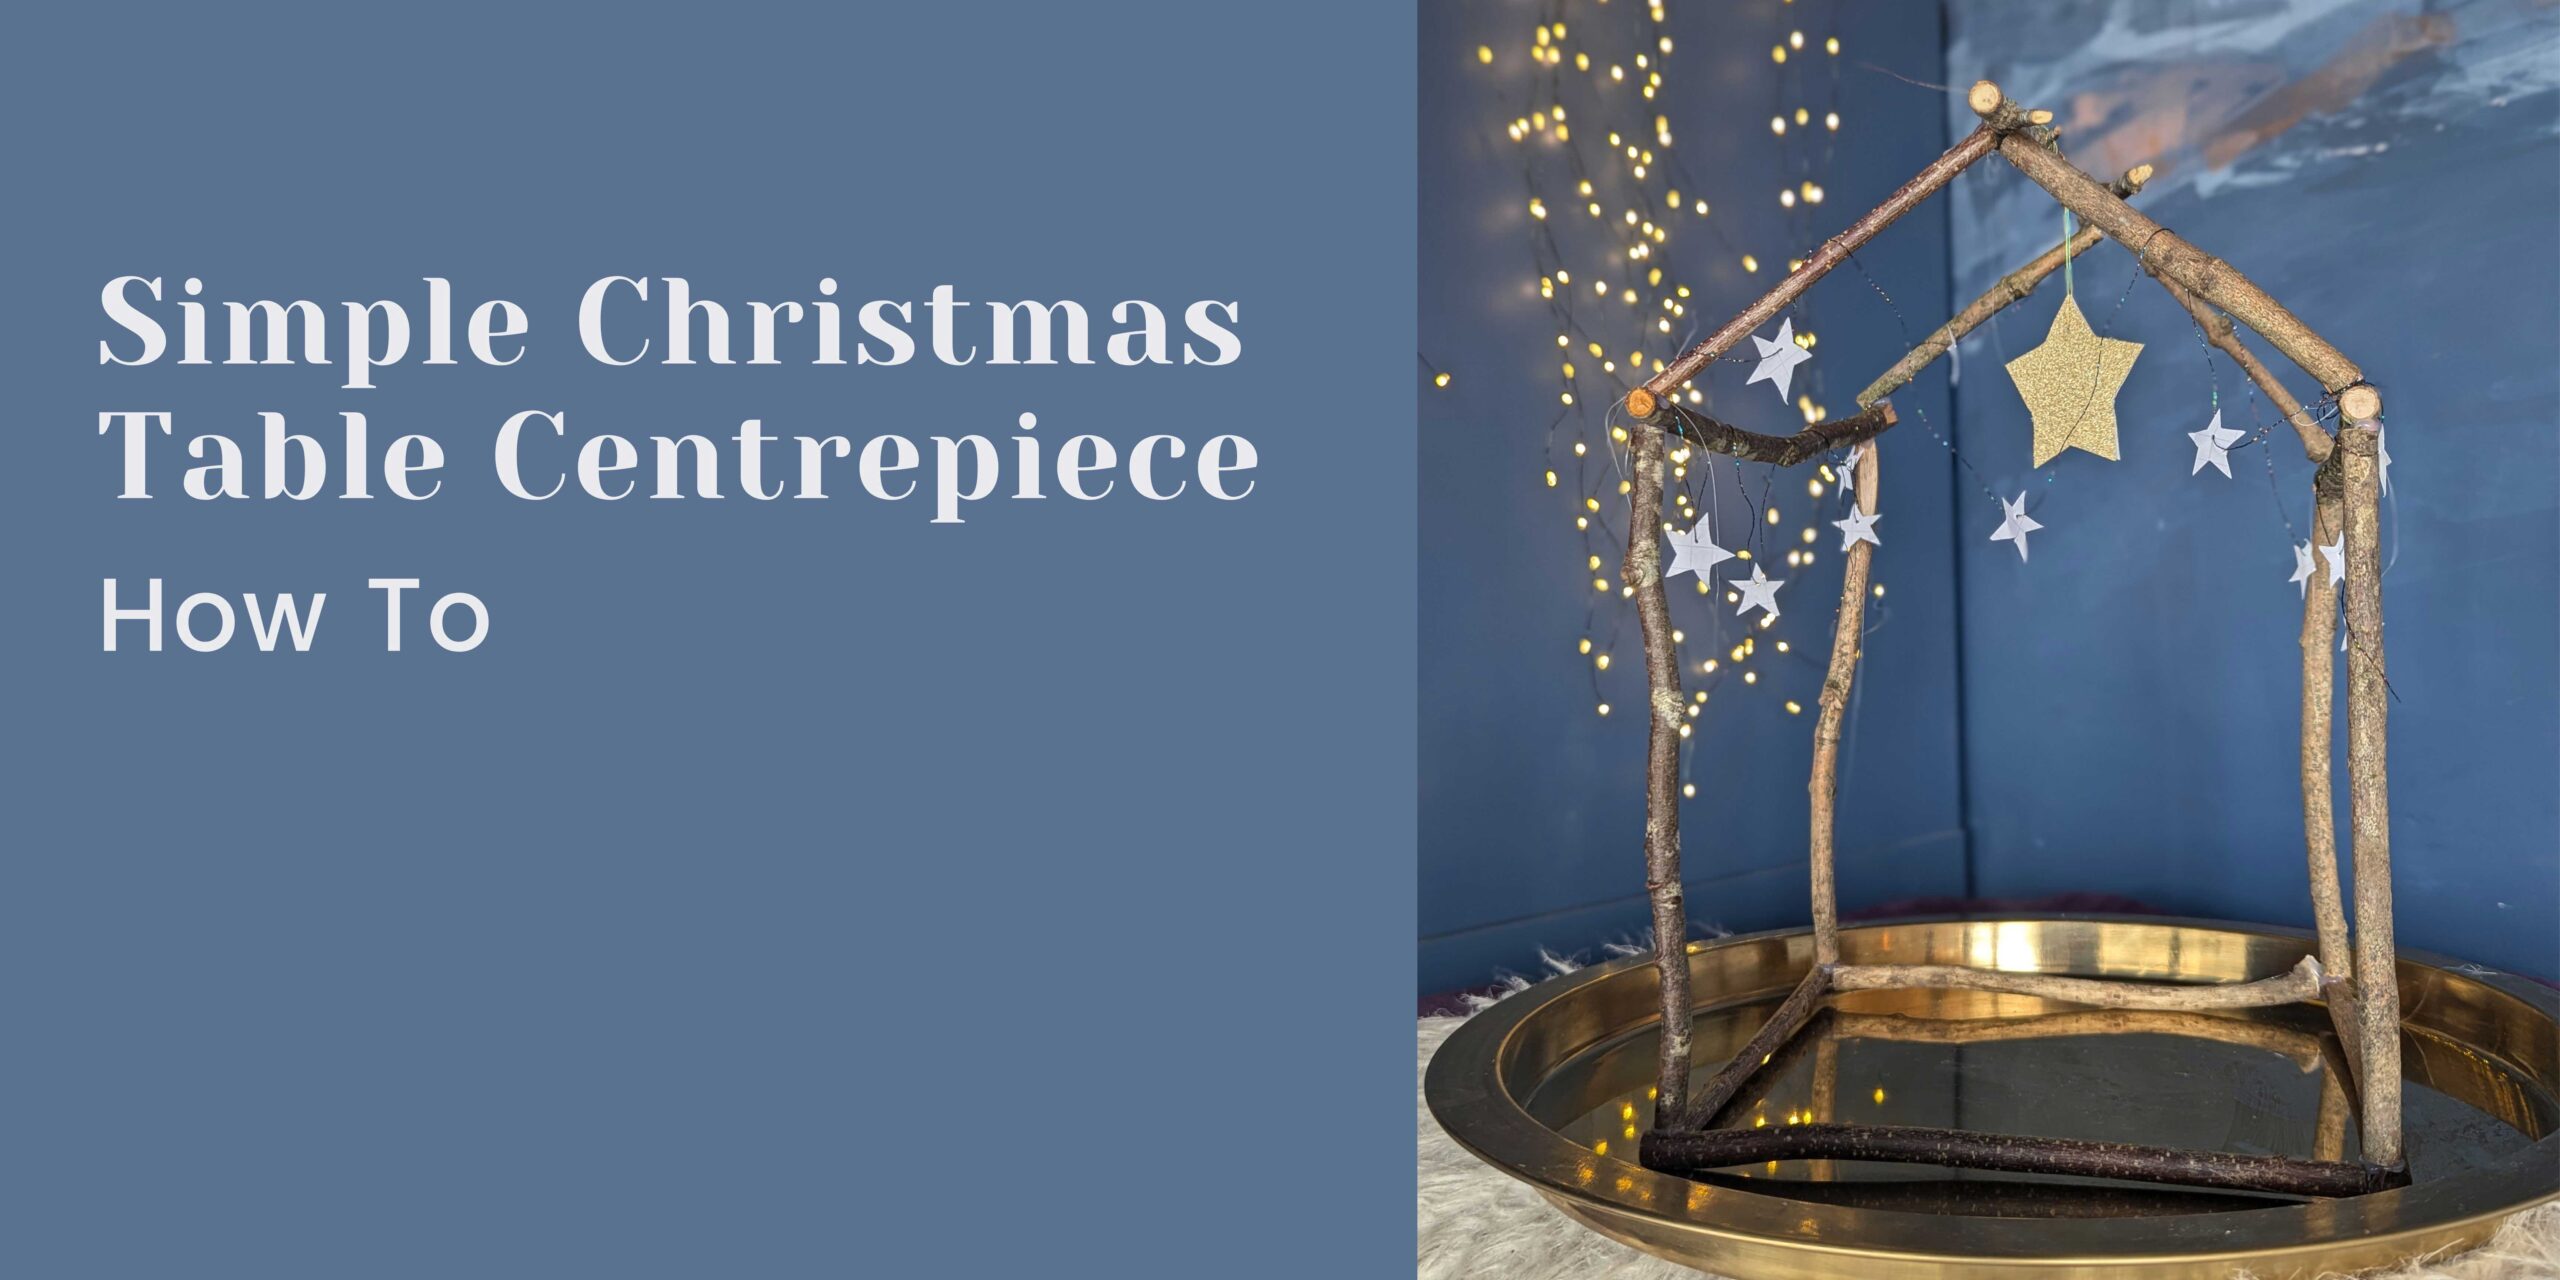
How To: Simple Christmas Table Centrepiece
Christmas and crafting sort of go hand in hand. There is something about the twinkling lights, the longer nights and general air of merriment that brings out the Martha Stewart in many of us. Stores are filled with make your own this, and make your own that. I for one adore a good craft kit.
That being said, Christmas is also a busy time and filled with intense pressure. It takes a lot of effort to avoid being sucked into all the meaningless pressures that surround it. As much as I love Christmas (my favourite holiday) and crafting, even I feel the pressure at this time of year. This is why I wanted to offer up a craft that is cheap, simple, beautiful, and brings an opportunity of wellbeing. It is pressure free crafting.
Love at First Pin
When I first came across this craft it was pinned straight away. There may be over 450 pins on my Christmas board, but this one was not going to get buried. I saw my vision, I saw the potential, but most importantly I saw the opportunity to play and explore. Those are the two things that are key to keeping my craft relaxing and removed from pressure.
Recently I painted a mural on a wall in the house. I planned it out, I drew and redrew. Nothing was quite working, yet I continued anyway. There was a time factor, this had to be finished by the end of the week. I couldn’t let the lack of completed vision stop me. That in itself is not what thwarted me in the end, it was the pressure. With no vision and pressure there was not a happy ending to what appeared on my wall. It looked remarkably like a dark storm, which entirely matched my mood.
In grump and a huff I painted over the whole thing. A few faint paint splattered on the floor became the only sign it ever existed. I allowed myself to have an artistic melt down before I finally regrouped. The pressure was removed placing play and exploration as the key drivers. Suddenly a masterpiece appeared on the iPad in front of me and I knew this is what needed to be on the wall.
Play and Explore Crafting
Why have I told you this story? Well it is because when it comes to beginning any craft and creative endeavour we need to remove the pressure. No one is going to judge you, and what you’re making isn’t for an art gallery. It’s for you, so have fun and enjoy exploring.
Now, I’ve never wanted to be one of those blogs that shares an entire life story, multiple chapters long, before getting into the nitty gritty of why you’re reading this in the first place. I already feel that I’ve waffled on for too long, so let’s crack on.
Your Simple Christmas Table Centrepiece
You will need:
- Twigs
- Something to cut the twigs
- Pen
- Ruler
- Hot glue gun
- Paper and strings for stars (optional)
Method
To begin
We begin with a walk. A lovely walk through some woodlands, or around your local area. You could even skip the walk altogether and prune bushes/trees in your garden if you have any. All good crafts should start by being outside.
Whilst breathing in nature take a look for quality sticks and twigs. You want straight ones, any bend will complicate things. Eventually you’ll want 11 twigs at roughly 20cm in length, and four at roughly 12cm in length. That should be your guide when looking. Personally I really loved ones which had a slight white colouring in the bark.
When at home
When you get home clean off any mud and let them dry. When you’re ready to craft make yourself a nice brew, pop on some Christmas music and enjoy the process.
I used a ruler and pen to create markers for cutting. This allowed me to explore my twigs and find the best sections to use. After this I cut them using a strong branch cutter. A bit excessive but it did the trick.
Once all my twigs were cut to size I began gluing them together. You want to begin with the base first, connecting four twigs together to form a square.
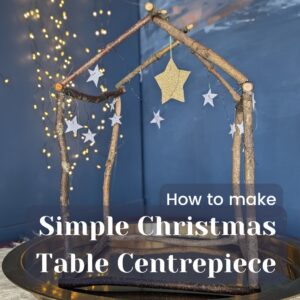
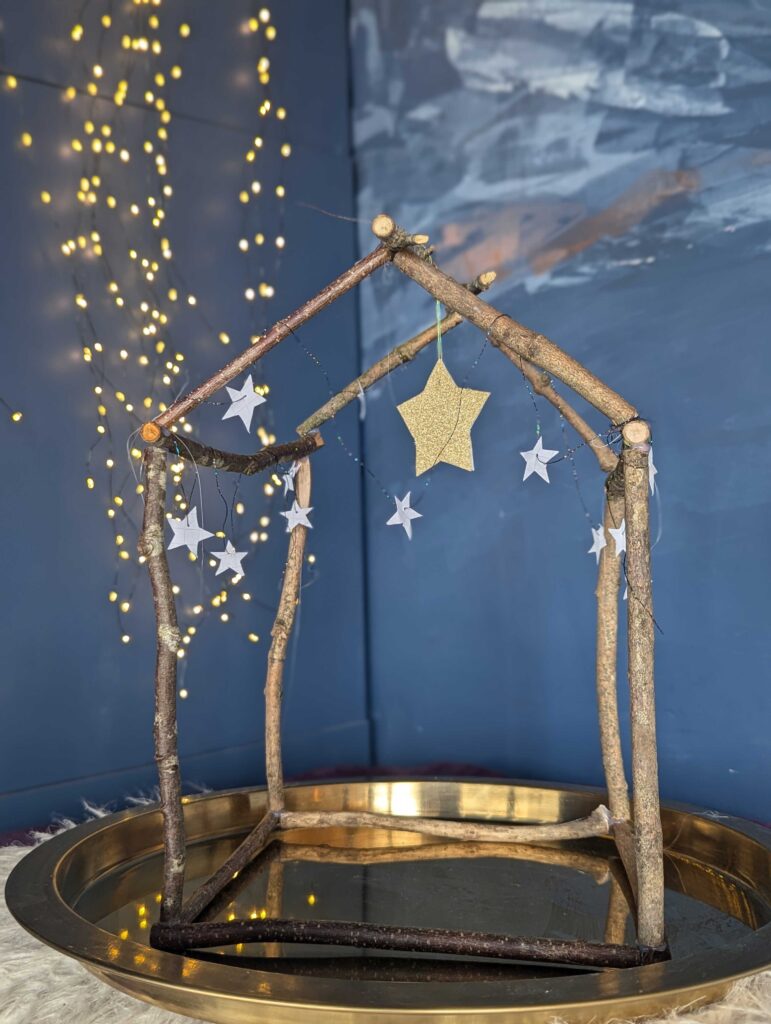
Next, glue four twigs into the corners to create the uprights. You only want to glue horizontal pieces at the top on two opposite sides. Please see my picture for reference when it comes to the twig locations.
This is the fiddly bit, at least it was for me anyway. Your four 12cm pieces will now for the pointy roof with the final 20cm connecting them together across the middle.
Final stages
Once this is set and dry (which shouldn’t take long with a hot glue gun) you can begin decorating it. I made stars from scrap paper and threaded them with string to dangle around the roof structure. Adding to the play aspect of this craft, you can have fun figuring out what to put in the middle of it all. It could be a nativity scene, or bowl of pine corns, if you’re careful you could even do a nice candle display. Just be mindful that it is all made out of wood! The possibilities aren’t quite endless, but they are plentiful.
If you do this craft I’d love to see pictures (no pressure!) so please share them with me on social media (@lwrightcreative)


